How to Publish an Android App in Google Play Store: a Complete Step-by-Step Guide
The process of your Android app publishing to the app store is not only a thrilling but very important moment for your application destiny as well. Will your app be added, will it be seen in the store, will people download and install it? All this depends on how successful your release would be. The preparation for a release starts long before the development of an Android application.

Let us guide you through the jungle of all the development terms and all those rules that Google Play has prepared for you. Where to publish, who can publish and why? Before all else, we need to mention that Google Play is not a unique option for you. There are lots of alternative app stores when you think where to publish an Android app. To choose the best variant you need to consider the target audience and geography you want to cover. As you probably know, Google Play doesn't work in China. So, if your app is mainly for the Asian market, you need to think about an alternative app store for your project. Yet, this article is about how to publish Android app to Google Play only. Before you start deploying an Android app to Google Play, make sure that everything is ready. You will need some screenshots of your app (in high quality), the description of the application and, of course, an APK file (the app itself). Pay attention that there are strict limitations concerning the size of an app. The maximum size is 100 Mbytes, however, It would be better if it's less than 50 Mbytes, then users who live in areas with a bad internet connection would have a chance to try your app. Here are the steps to publish an Android app on Google Play:
Let us guide you through the jungle of all the development terms and all those rules that Google Play has prepared for you. Where to publish, who can publish and why? Before all else, we need to mention that Google Play is not a unique option for you. There are lots of alternative app stores when you think where to publish an Android app. To choose the best variant you need to consider the target audience and geography you want to cover. As you probably know, Google Play doesn't work in China. So, if your app is mainly for the Asian market, you need to think about an alternative app store for your project. Yet, this article is about how to publish Android app to Google Play only. Before you start deploying an Android app to Google Play, make sure that everything is ready. You will need some screenshots of your app (in high quality), the description of the application and, of course, an APK file (the app itself). Pay attention that there are strict limitations concerning the size of an app. The maximum size is 100 Mbytes, however, It would be better if it's less than 50 Mbytes, then users who live in areas with a bad internet connection would have a chance to try your app. Here are the steps to publish an Android app on Google Play:
Step 1: Create Developer Account
You need a Google Play account
1: Visit the Google Play Developer Console signup page
2: Pay $25 registration fee
3: Fill in your account details
4: Verify your identity
2: Pay $25 registration fee
3: Fill in your account details
4: Verify your identity
Please note that it may take up to 48 hours for your registration to be fully processed.
Step 2: Fill Store Listing in Google Developer Account
Action list to Fill Store Listing in Google Developer Account:
- Click 'CREATE APPLICATION' button to start submitting your app to Google Play.
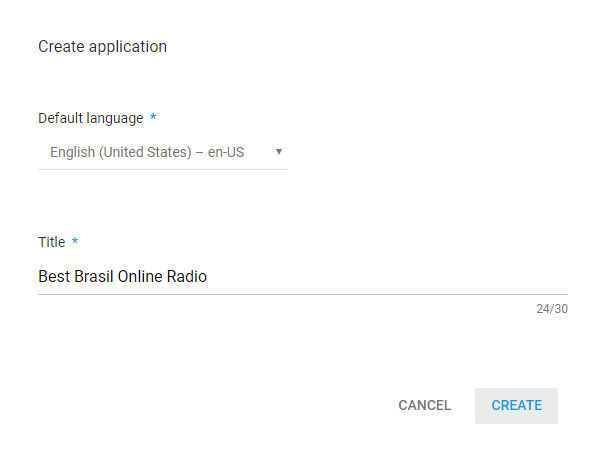
- Enter your app name "TimesNE" into Title field and click 'CREATE' button.
- Enter your short description into Short description field
 Short description:
 - Enter your full description into Full description field
 Full description:
 - Upload your streenshots, icon and feature graphic
 IconFeature graphic
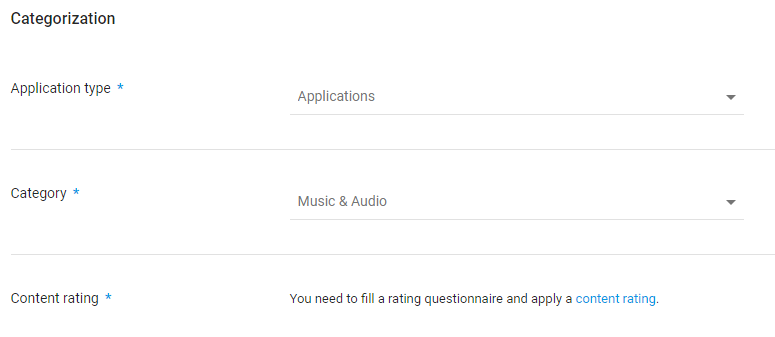
 - Select your Application type and Category
- Click 'SAVE DRAFT' button at the bottom of the page to save your store listing
Step 3: Fill App Content section
Action list to fill App Content section:
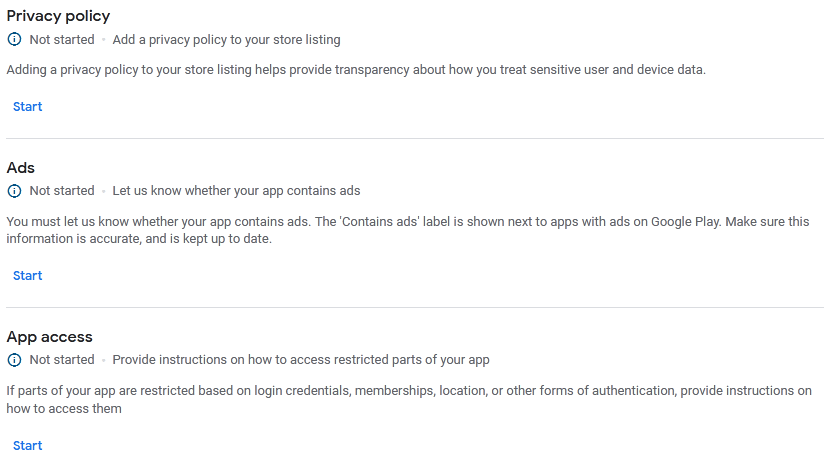
- Click 'App Content' button in the left menu of your Developer console.
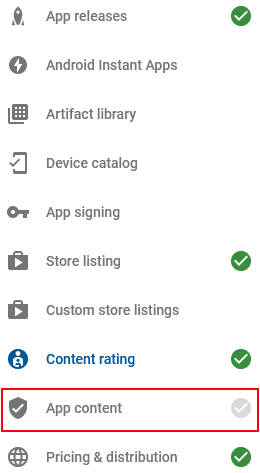
- Complete Privacy policy, Ads and App Access sections. Enter your own or Appsgeyser's privacy policy URL - https://www.indilens.in/privacy-policy/ in Privacy Policy section
Step 4: Upload apk at 'App releases' section
Action list to upload apk:
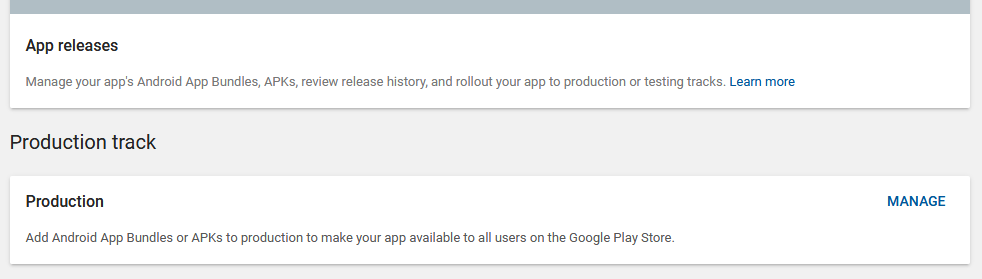
- Click 'App releases' button in the left menu of your Developer console
- Click 'MANAGE' button
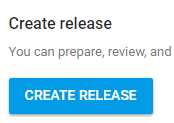
- Click 'CREATE RELEASE' button
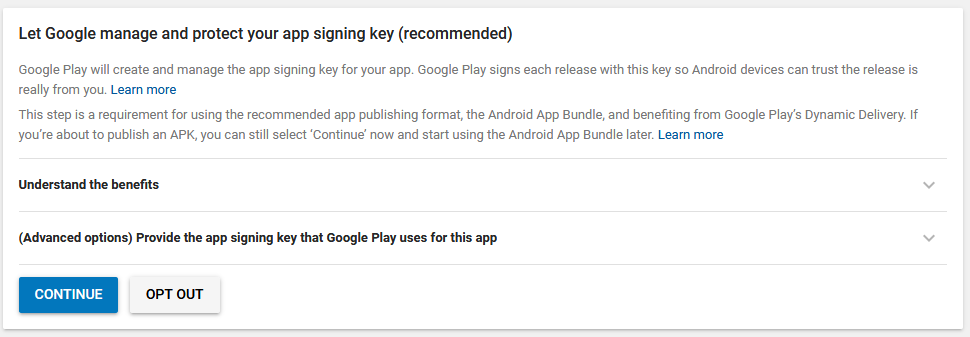
- Click 'CONTINUE' button in Google Play App Signing.
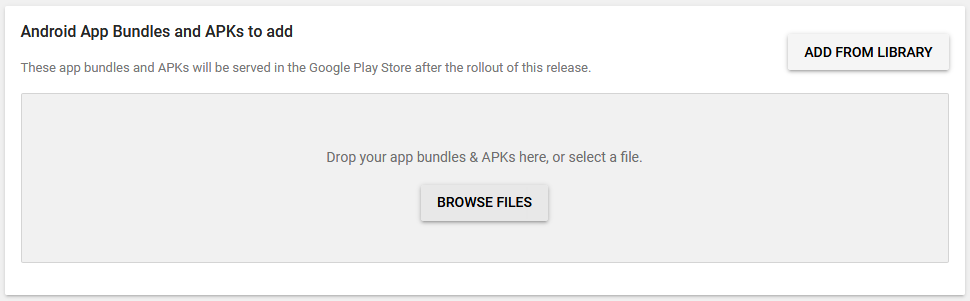
- Click 'BROWSE FILES' button and Upload your APK file
You will see that your file was uploaded:

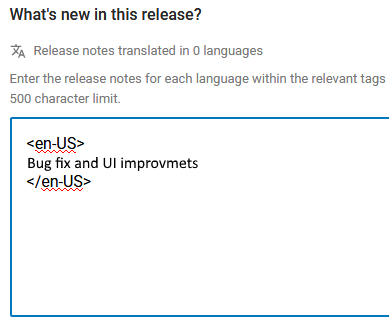
- Change Release notes
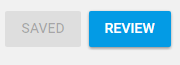
- Click 'SAVE' and then 'REVIEW' button
Step 5: Fill Content rating
Action list to fill Content rating:
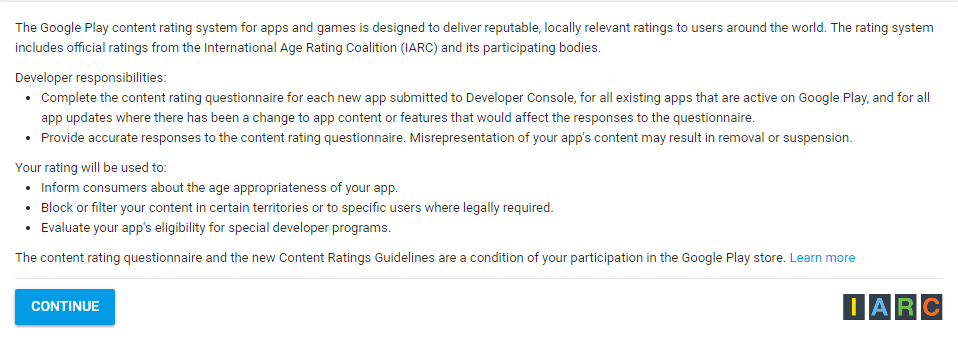
- Click 'Content rating' button in the left menu of your Developer console

- Click 'CONTINUE' button to complete app rating questioneer.
- Answer on all questions and click 'APPLY RATING' button
Step 6: Fill Pricing & distribution section
Action list to fill Pricing & distribution section:
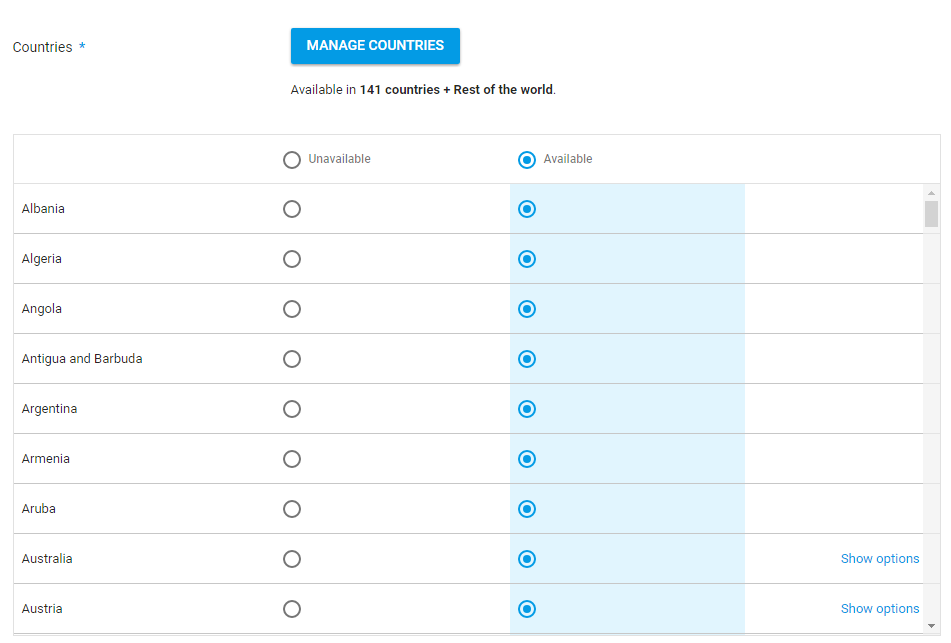
- Click 'Pricing & distribution' button in the left menu of your Developer console
- Select 'Available' option in Countries area
- Accept Content guidelines and US export laws
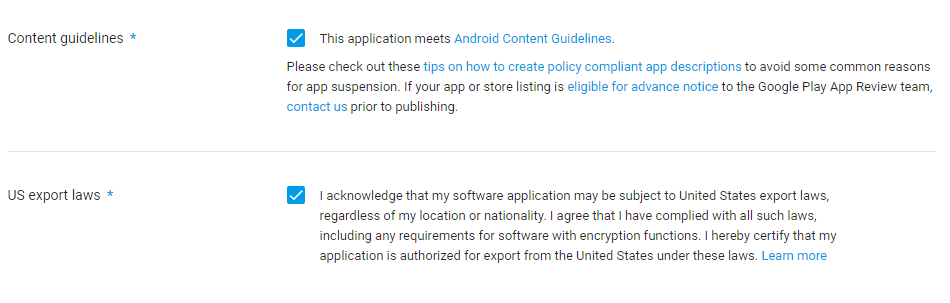
- Click 'SAVE DRAFT' button at the bottom of the page to save your pricing & distribution settings
Step 7: Fill Target Audience section
Action list to fill Target Audience section:
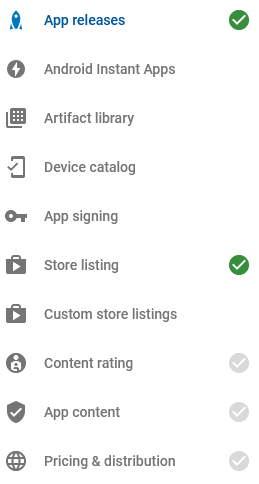
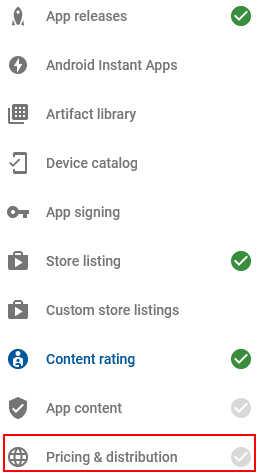
- Click 'App Content' button in the left menu of your Developer console. Make sure your side bar is the same as on the screenshot below (4 green circles and 1 gray).
- Complete your Target Audience. Your app's target audience must be 13+.

Step 8: Finish! Release App
Action list to finally Release App:
- Go back to App releases by clicking 'App releases' button in the left menu of your Developer console

- Click 'EDIT RELEASE' button

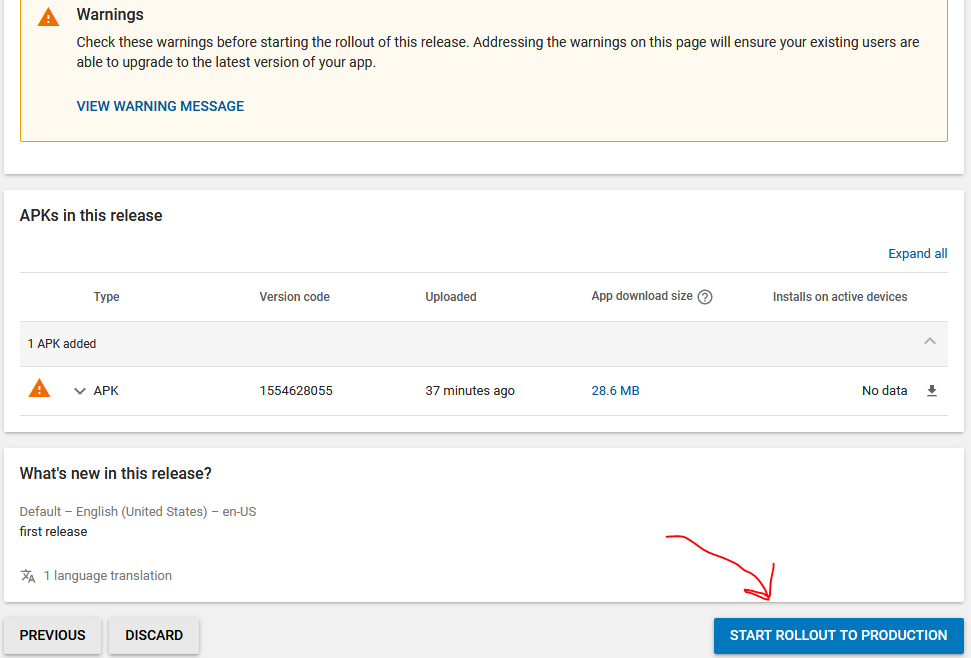
- Click 'REVIEW' button
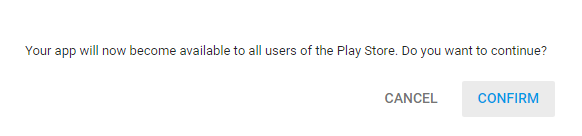
- Click 'START ROLLOUT TO PRODUCTION' button
- Click 'CONFIRM' button in opened window
please complete all steps above before moving next


0 comments:
Post a Comment
Subscribe to Perfect BloggersTech by Email
Don't Spam Here ! You will Be Blocked Permanently